

Shooting with a compound bow requires a good technique and good fundamentals. You may want to ask for help from an archery instructor before you shoot your first arrow. Of course, it’s possible to learn the fundamentals of shooting without the aid from a private coach. Not just anyone can join an archery club or group, so we recommend you to make sure you are using the bow safely when you are practicing the shooting.
In this article, we are going to talk about some “do’s” and “don’ts” about shooting the compound bow.
Before we get into that…
The first advice we can give to you is to take care of this necessary part of your bow. String maintenance is vital to ensure that you get longevity out of your bow string, so you don’t have to replace it every year if you maintain it correctly even if you shoot a lot.
A good way to protect the health of your bow string is to invest into a Bow String Wax which you can get at any archery shop. You just take a little bit and rub it into the string until it disappears, and your strings are going to be just as good as new. Regular maintenance will ensure your bow works correctly.
You should still consider periodically having it inspected by a professional.
If the bow string becomes saturated with abrasive dirt after the wax has been applied, the only option is to replace the string. Take good care of yourself when you replace it because, if a string snaps, you can get injured.
1. Get a Proper Bow Sling
![]()
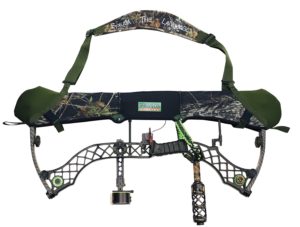
One thing a lot of shooters are going to do, whether they are experienced or not, is torque the bow with the hand they use to hold the bow. For example, if you hold the bow with your left hand (let’s say you are a right-handed), and you release the arrow with your right hand, you will torque the bow to the left or to the right. This is why installing a sling for your bow is a necessity. Having it attached to the stabilizer will ensure that you are not going to drop your bow and that’s one thing that a lot of folks are worried about when they shot and when they release after they draw.
A bow sling helps you hold onto and stabilize your bow, keeping you safe from losing your hunting weapon. This type of product is going to protect your cams, cables, and strings, so your bow will stay in top shape. It is a must when the terrain gets rough. You will find yourself able to climb hills freely or scan the terrain with your binoculars. Once you’ve tried it, you won’t go to another training session or hunting without it.
2. Don’t Punch the Trigger
As a beginner, you will have a big problem in getting over this when you use your bow for target shooting or hunting. You can try to always draw with the finger that stands behind the trigger of your release. There are several types of releases out in the archery market and you should definitely get one.
The beautiful thing about a trigger release is that it is a very light trigger and all you have to do is to press it with low force and it will let go. Most folks do shoot a trigger release, especially in bow hunting. Sometimes it is okay to grip hard when you’re going to full draw. To make a nice, rubber grip you have to place the center part of your hand (between the index finger and the thumb) on the trigger.
3. Anchoring
We are not giving you hints to think about docking a boat. The position your draw hand takes as you pull back a bowstring is called the anchoring. You should know that there are no identical shootings; every archer has their particular anchor.
There are several types of anchor. You can place the draw hand on your cheek, near the jaw, but either way, each person’s chosen anchor point have to rest on the face in the same spot, shot after shot. This is why practice makes it perfect. When you are training your archer skills, make sure to do the same thing over and over again. We know that it will be annoying, but there is no other way to gain this necessary skill.
To reach your anchor point, you have to take your stance first, nock the arrow and start pulling back. No one was born knowing all of this so don’t worry if you are won’t get used to this after several shots. Keep trying and in the end, you will see only benefits from this practice.
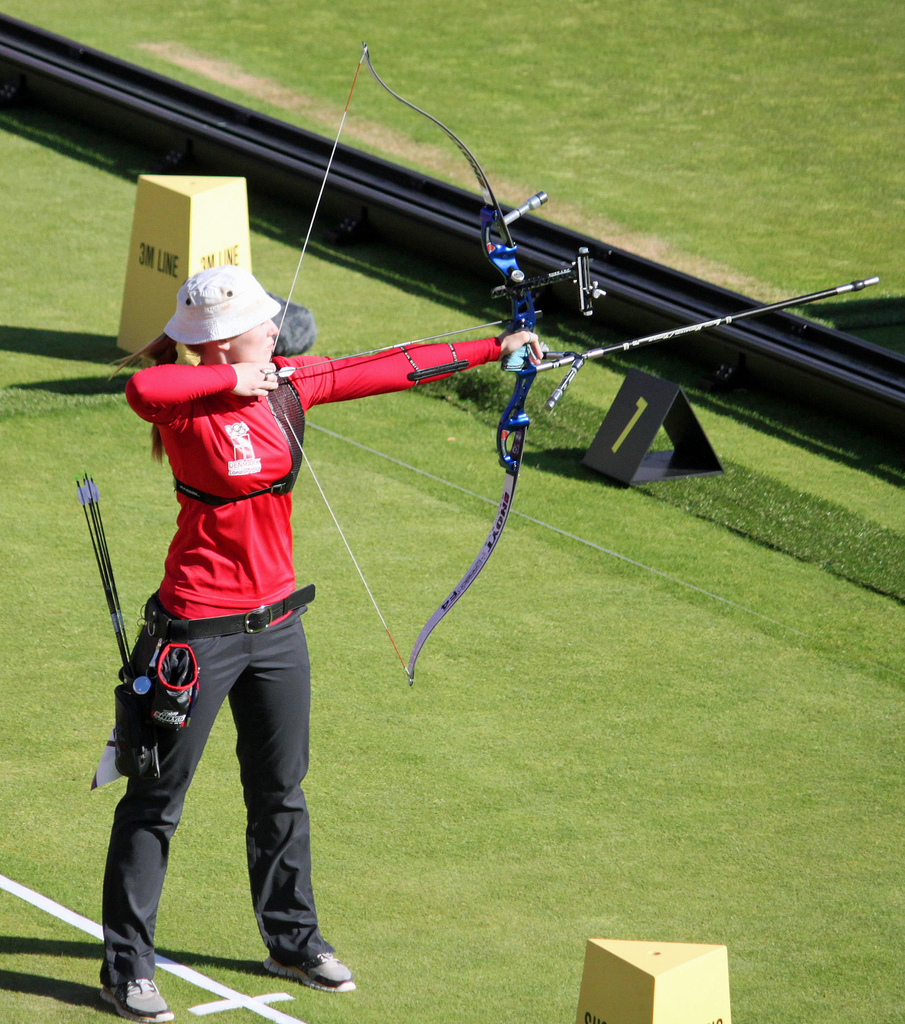
4. Learn How to Take a Correct Stance
An archer’s stance is the way you align your feet and body before taking the shot. Many novices overlook this part of the process of becoming a better shooter. Anyone can get their hands on the bow and shoot arrows, but a proper stance is going to make the whole process a whole lot easier. Your stance is the foundation of archery, a vital part of your shot you can’t neglect. You have to adapt to different kinds of archery; this is why a proper stance is necessary.
A simple way to learn how to achieve the correct position is to start without a bow. Draw a line on the floor or lay a stick. This is now your “shooting line.” Now imagine a line running straight from the middle of your target back to where you are standing; this is what is called the “target line” in archery. Those lines are really helpful points when you learn how to stand.
There are two major positions you are going to try: the square stance and the open stance.
The square stance consists of placing a foot on each side of your shooting line. After that, space your feet between shoulder-width to hip-width apart. You will feel a better stability than keeping your feet close together. Your feet must align with your target line. The name of the stance comes from the fact that your feet are square to the target. A square stance will give you flexibility and ease of use.
The open stance resembles the square stance. You just have to bring your rear foot forward so that the ball of your foot bisects the target line. After that, get your front foot back for 2” behind the target line. Your rear foot should be ahead of your front food now. Pivot toward the target about twenty degrees with your feet and hips slightly open to the target and your shoulders facing forward.
This position keeps your waist open and aligns your shoulders with the target, providing more stability and control when shooting the arrow.
5. Learn How to Aim Properly
This step requires several things first: being comfortable with your stance, gripping the bow, nocking the arrow, drawing the bowstring, and finding your anchor point. It means that you’re ready to take your first aim and shot at your target.
One thing you have to understand when taking aim is that this process involves transferring weight into your back muscles. After you anchor, you have to shift the held weight from your arms into your back muscles. To do this, you have to move your draw arm’s muscles: the triceps along the back of your arm; and your scapula toward your spine. Think about it like drawing a circle with your shoulder blade. This exercise will let you hold the bow steady much easier.
After you learn how to transfer weight, your draw elbow will be in line with your arrow, giving you the feel like you can hold the bow forever. After you’re aligned, proceed to the aiming process. Look at the target and watch the pin float around the center. Do not try to force your pin to hold steady as it will never appear perfectly still on the target. You can also create unnecessary tension in your bow arm while trying to hold it too still.
After you take your aim, you are ready to release the shot. It’s necessary that you maintain proper tension in your back muscles while creating a feeling of expansion across your chest, allowing you to make a consistent release every time. As we mentioned in the anchoring step, a consistent shot process is what puts arrows in the bull’s eyes.
6. Get Stronger
Yes, archery is awesome and you have lots of fun, but it also requires training if you want it to become an everyday routine. As a starter, overall strength training matters. Some exercises you can do are standard planking, squats, lunges, and military press. Push-ups work too.
Run!
![]()
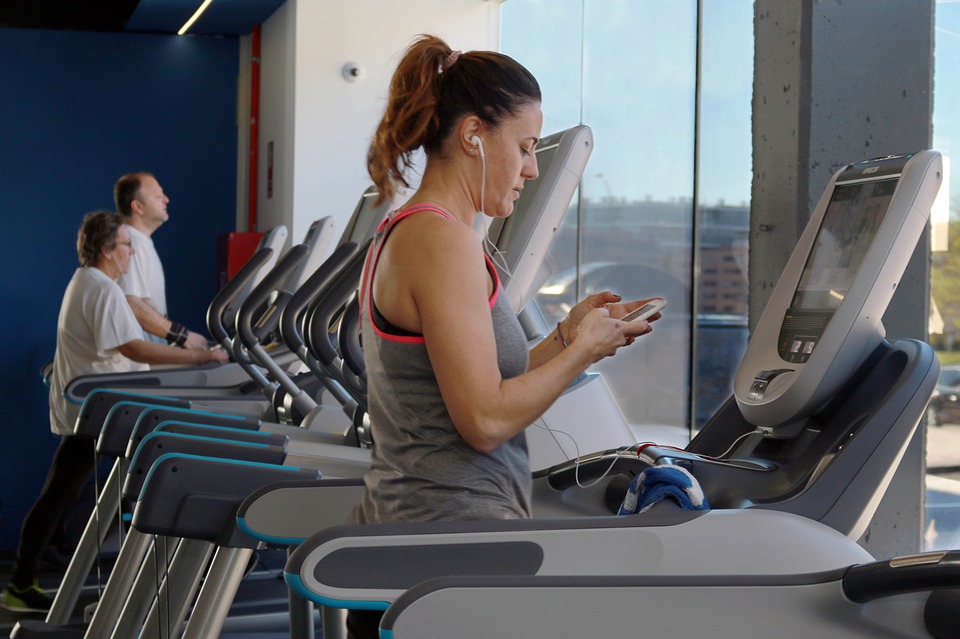
A good cardio workout is not only beneficial for your career as an archer, but it is also good for your heart. It eventually lowers your resting heart rate. For example, let’s say you are on guard in a tree stand or locked and loaded at the archery range. Calm nerves and a strong heart are the main reasons you will have success.
Swimming is also an excellent form of cardio.
The lower trapezius muscles are a major group of muscles used in archery. Rowing and kayaking can help in their development. But not everyone has ready access to a lake or waterway, so you can use a rowing machine or lat pull-down machines to mimic the motions.
Dumbbells are also recommended because they force you to use smaller auxiliary muscles and use fine motor movements. Training these small muscles will help you refine your strength by emphasizing control and balance which is essential for a steady hold.
Draw your bow multiple times after each practice. This way you create a constant movement that pulls the bow back like you would use it in a hunting situation. Extend your arm in front of you and pull the string straight back to the anchor. Use your release aid rather than your fingers to pull the bow back. Remember not to do this with an arrow on the string. Hold this position as long as possible.
7. Develop Pleasure in Archery
Learn why you love archery. It will motivate you to reach your goals in archery as well as other sports. Once you know what motivates you, match your archery practice habits with your way of thinking to create a schedule and an environment that inspires you.
You might feel unmotivated to shoot sometimes. That’s normal. That means your shooting philosophy does not go well with what you’re actually doing. The reasons for you to love archery will differ from your friends’ reasons for loving it. Find your reason.
Conclusion
No one is born a professional archer. You can’t let negative feelings to flow when you are practicing with your compound bow. From a better physique to a better mental health, shooting with your bow is going to become an instant pleasure for you.
Now that you have your own compound bow, don’t hesitate to make a schedule for practice. That money you spent on it should not be treated with indifference. Don’t give up until you are pleased with your success. Best wishes to your becoming a better archer and we hope you have lots of fun from shooting.
And check here if you’re looking for a good compound bow for starting out.
Be the first to comment